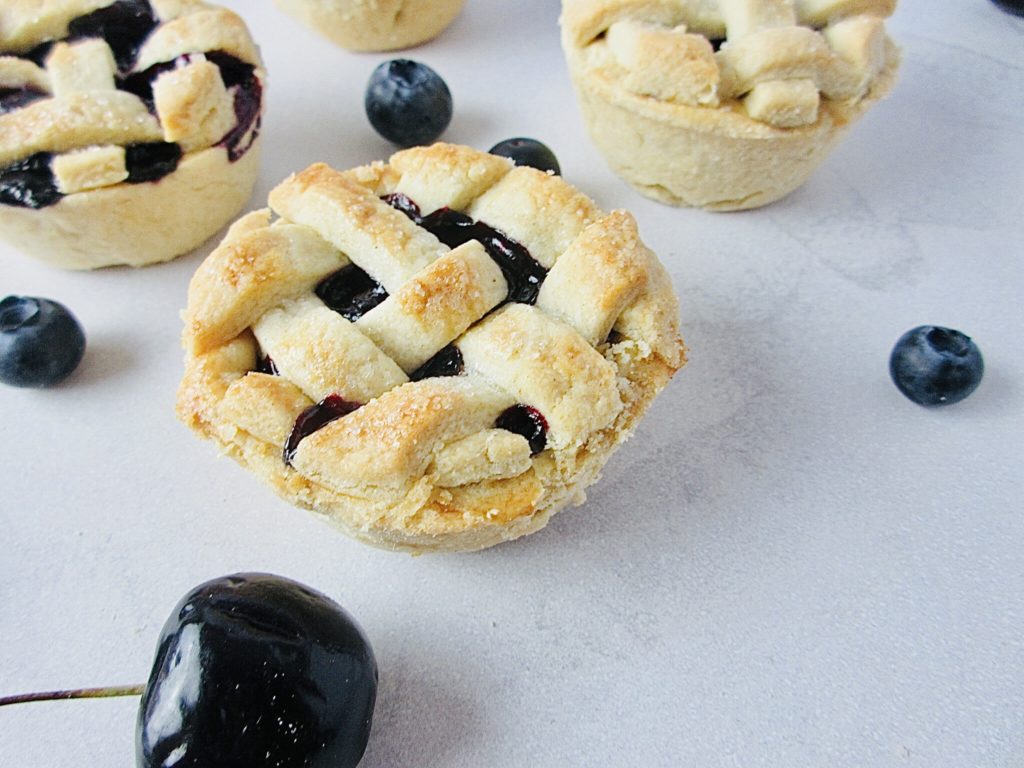
This recipe is for a small batch of mini cherry blueberry pies which makes 6 pies. These pies are delicious and fruity with a pie crust that is buttery with a flaky texture.
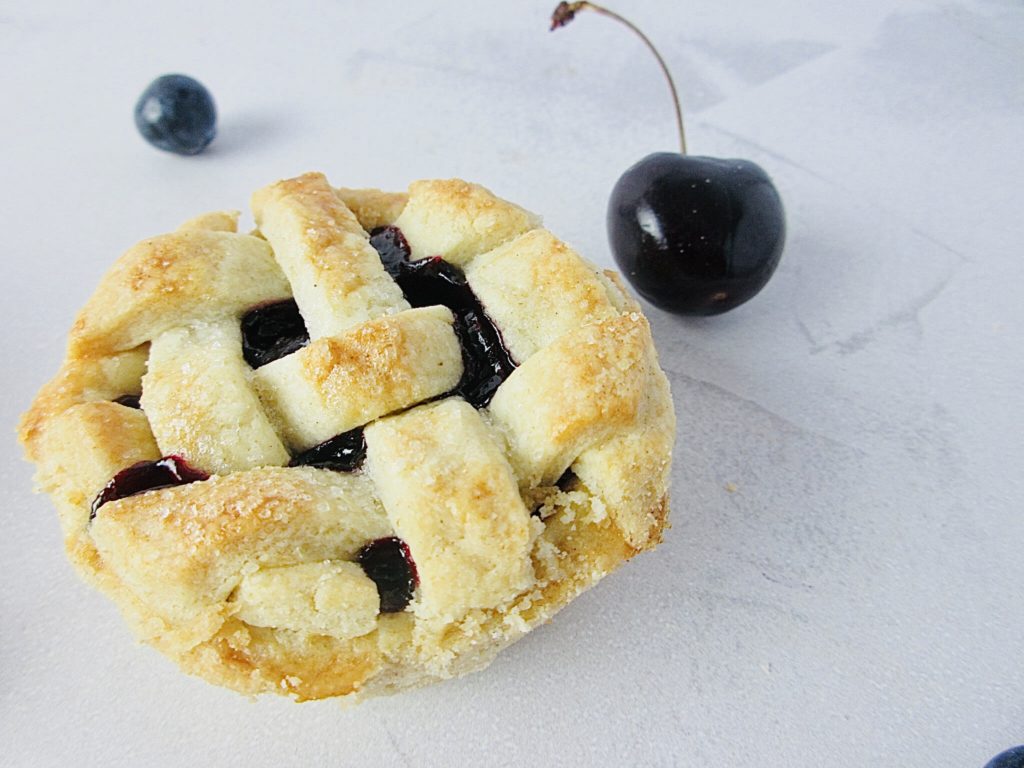
This recipe for these mini cherry blueberry pies include the pie crust and the filling so everything is fresh and homemade. The pastry for these pies is delicate, crumbly and buttery which is everything you want in a pie crust. The filling is made up of black cherries and blueberries which are cooked before baking to create a rich and fruity filling.
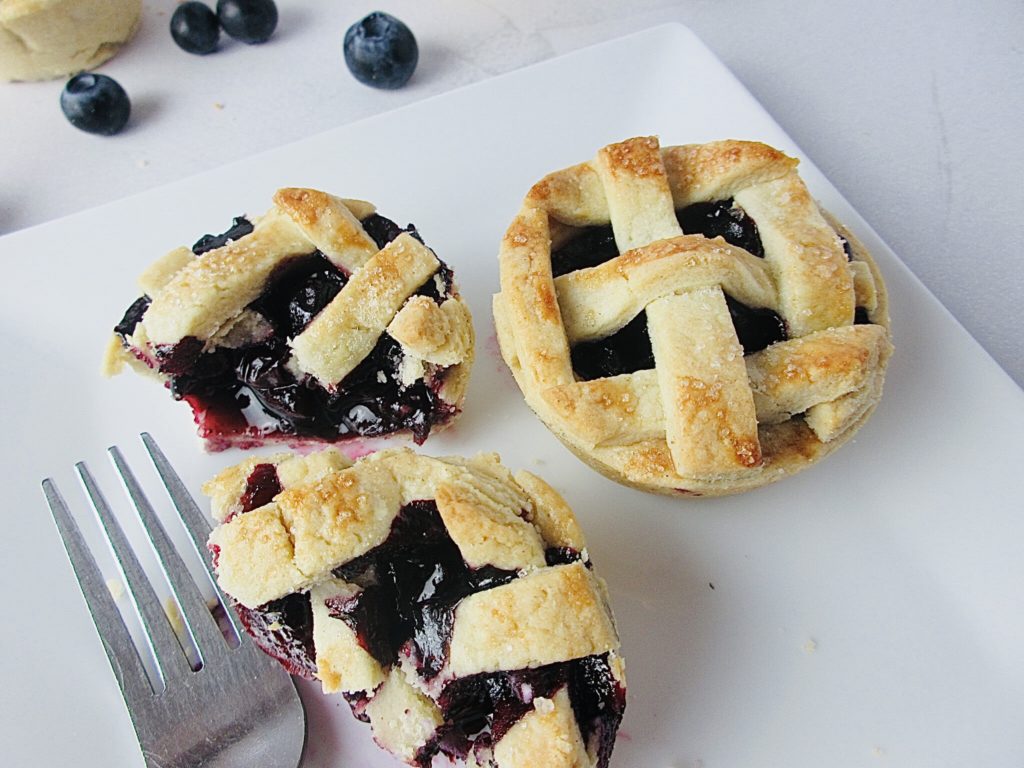
These mini cherry blueberry pies are great for those that love small batch baking and the recipe may seem complicated but it is relatively easy to follow. These pies are perfect for dessert and they are definitely sure to wow your family and friends. You can enjoy these pies with ice-cream or a dash of whipped cream but the these pies also taste great eaten alone.
Ingredients for Mini Cherry Blueberry Pies
Please find the full list of ingredients and quantities in the recipe card at the end of the post.
For the pie crust
- Flour - I use plain flour also known as all-purpose flour.
- Sugar - I use caster sugar.
- Salt - I use fine sea salt.
- Butter - I use unsalted butter which should be cold.
- Shortening - I use Trex shortening. Crisco is another popular brand.
- Water - use very cold water with some lemon juice and ice cubes.
For the filling
- Cherries - I use fresh black cherries.
- Blueberries - I use fresh blueberries.
- Lemon juice - squeezed from a fresh lemon.
- Sugar - I use granulated sugar for the filling.
- Vanilla - use good quality vanilla extract.
- Cornflour - also known as cornstarch.

How to Make Mini Cherry Blueberry Pies
Make the Dough
1. Add the flour, sugar and salt to a mixing bowl then combine them together. Add the cold cubed butter and chopped shortening. Using your fingers, coat the butter and shortening in the flour then press the pieces of fat into flat disc shapes. Once the pieces of fat are flat, slightly break them up further until you have small peas size pieces of fat throughout the mixture. It is ok to have some larger pieces.
2. To a jug, add the cold water, ice cubes and lemon juice. Make a well in the centre of the mixture then pour around half of the water into the centre. Using both hands, begin to toss the flour and water to help the pastry come together. Continue to add more water in teaspoon increments while still bringing the dough together to form a ball. If bits of dough are falling off. Dip your fingers into the water and slightly wet the area you want to attach it to rather than pouring more water in. At this point the dough should not be sticky but not dry either.
3. Once you form a dough, flour a clean surface and tip the dough onto the surface. Gently knead the dough but don’t overdo the kneading and just knead enough to keep the dough together. Flatten the dough and form into a disk shape then wrap in cling film and refrigerate for 1 hour.
Make the Pie Filling
4. While the dough is in the fridge, you can make the pie filling. Wash the cherries and blueberries then remove the pits from the cherries. You can do this by hand but its quicker to use a cherry pitter. Add the fruit to a small saucepan then add the lemon juice, sugar, vanilla extract and cornflour. Mix all the ingredients together until the cornflour dissolves.
5. Place the saucepan on a low heat to cook the fruit. As the blueberries and cherry’s start to release their juices, begin to stir the fruit occasionally to prevent it from burning. Once the fruit is soft and the juice has thickened, remove from the heat and allow to completely cool. This process should take around 12 minutes.
Assemble the Pies
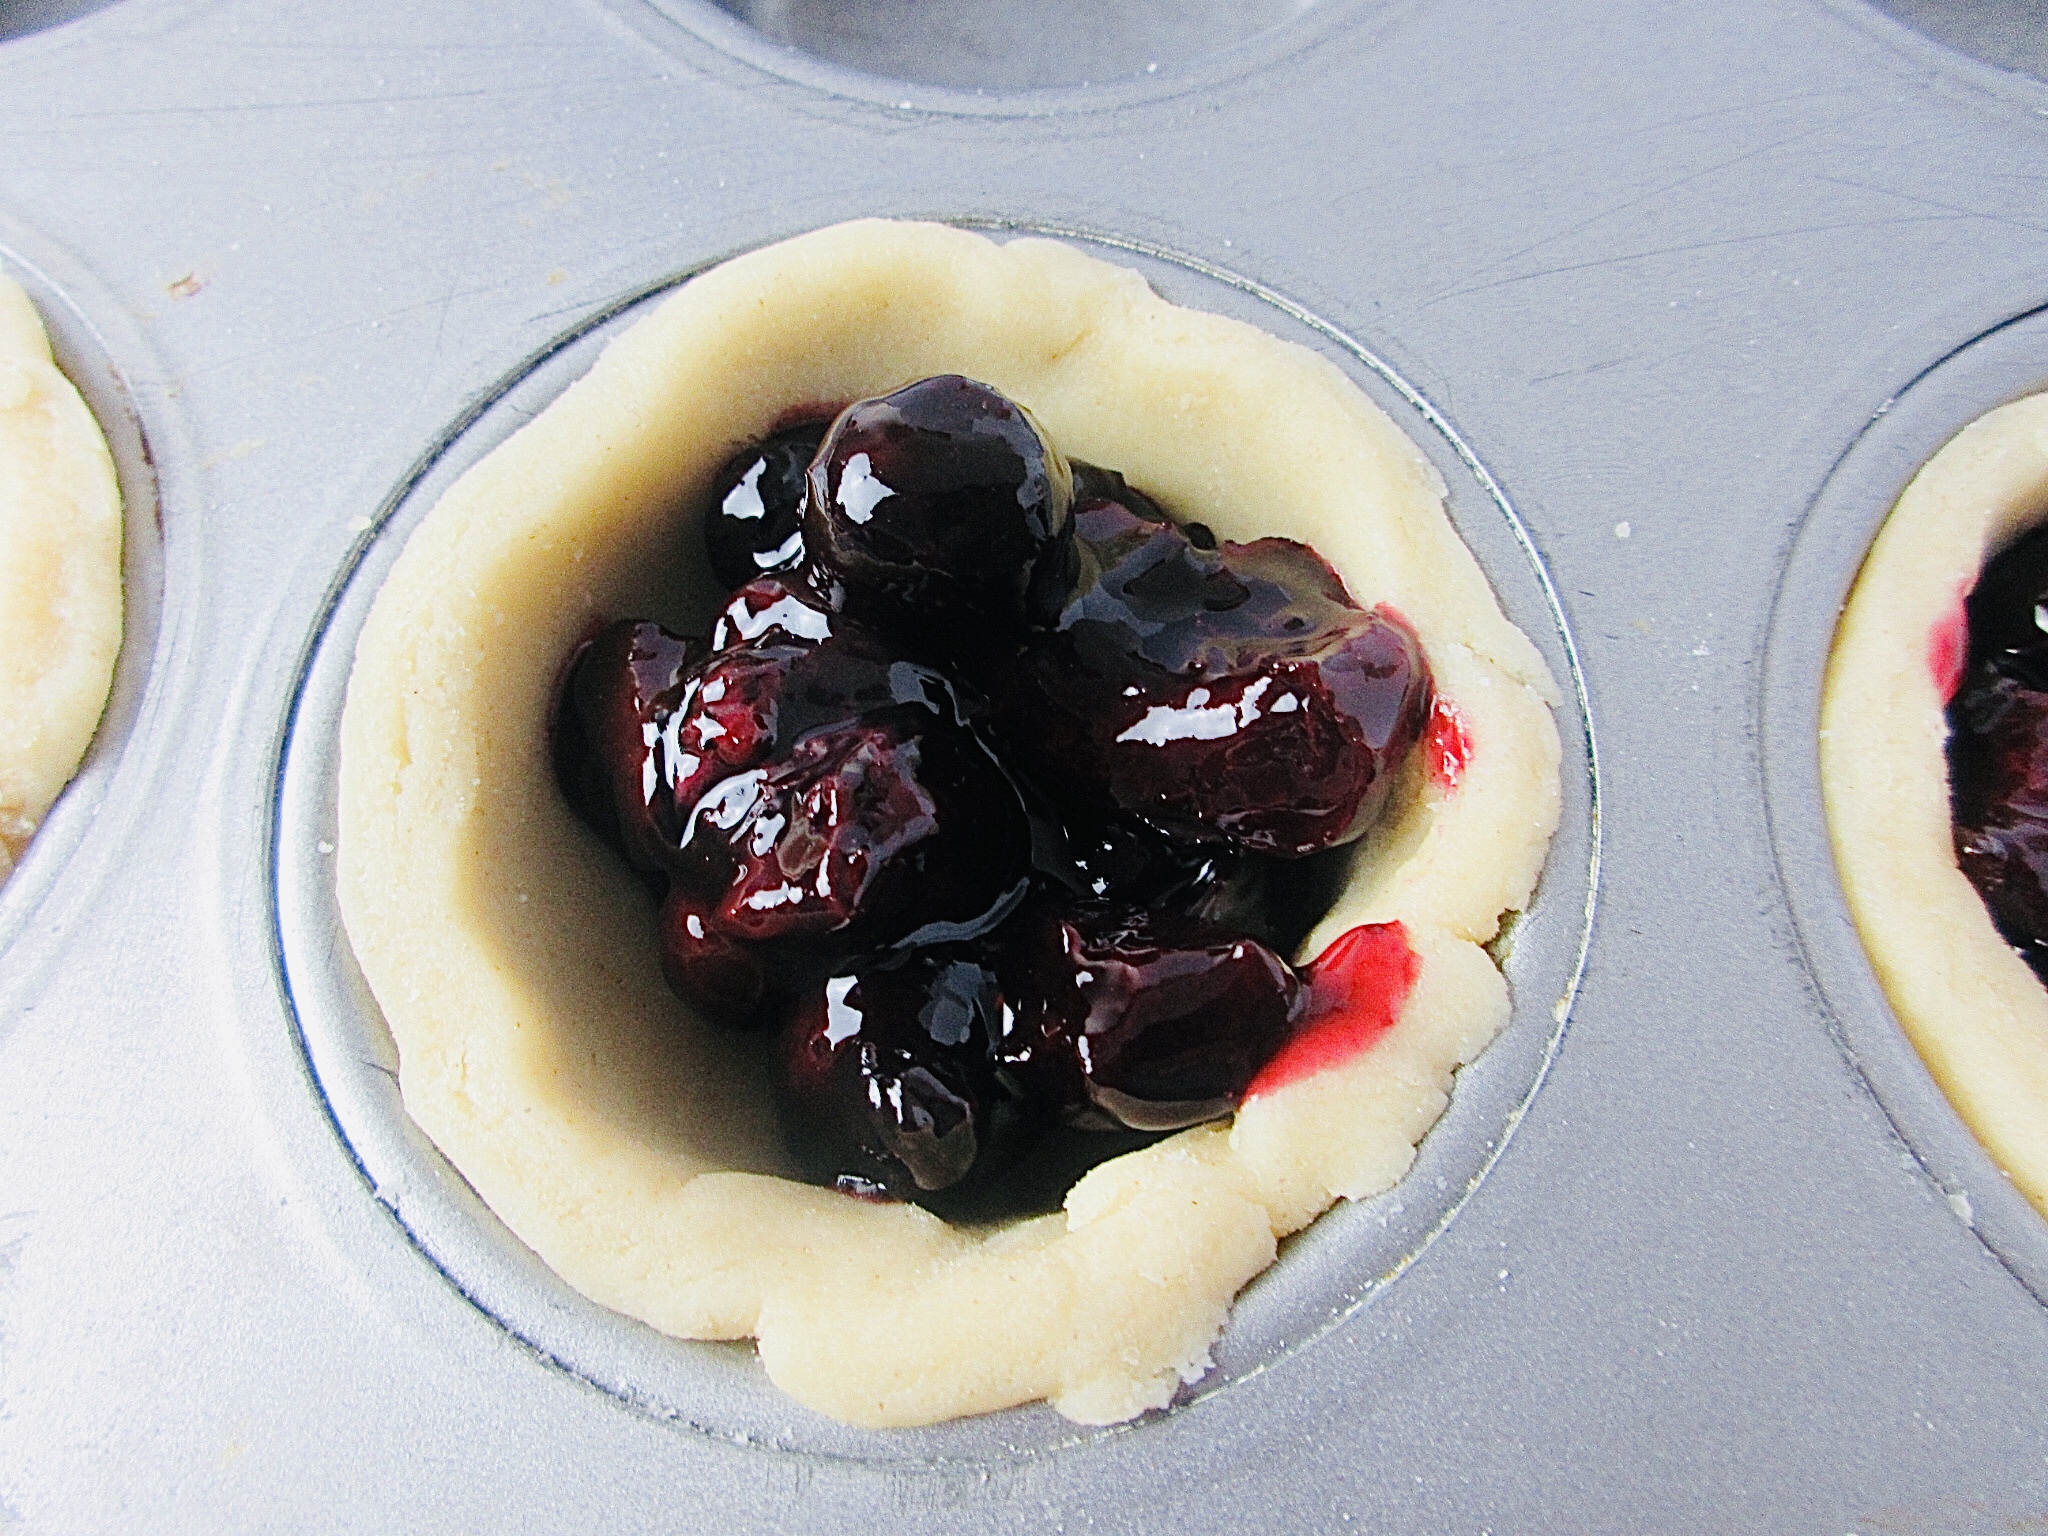
6. Preheat the oven to gas mark 4/350oF/180oC/160oC fan and grease a 6-count muffin tin. Lightly flour a surface and begin to roll out the dough. When it reaches around ½ cm thick, cut 6 circles using a cookie cutter. Carefully place each circle into the cups of the muffin tin. Now re-roll the dough if necessary and cut strips to make the lattice pie tops.
7. Make a egg wash by whisking together the egg and milk. Add the pie filling to the cupped pastry. Brush the rim of each pie with the egg wash then arrange the pastry strips to form lattice shapes on top of the pies. Trim of any overhang then brush the top of the pies with the egg wash, sprinkle on some granulated sugar and then bake the pies for 30 minutes. Allow the pies to cool in the tins for 10 - 15 minutes then carefully remove from the tins and allow to completely cool on a cooling rack.
Recipe Tips
- Each time I make these mini cherry blueberry pies, I use a different amount of water for the pastry. It all depends on the absorption rate of the flour used. There are many different reasons the amount of water will vary so I usually just measure out 50ml water and add the water gradually to ensure you don’t use too much.
- Ensure the butter and shortening are both cold from the fridge before adding them to the flour.
- The water for the pastry should be very cold so I usually add a couple of ice cubes to it. Ensure you add some lemon juice to the water as it helps to tenderise the dough. I personally find dough easier to work with when I add some lemon juice to the water.
- When you place the dough in the fridge, ensure it is wrapped tight to avoid it drying out.
- The cookie cutter I use for the base of the pies is around 98mm/9.8cm/3.9 inches.
Nutrition
Nutrition based on 1 serving: Calories: 405kcal | Fat: 20.3g | Saturates: 9.7g | Carbs: 50.6g | Sugar: 20.4g | Fibre: 2.1g | Protein: 4.7g | Salt 0.02g.
Storage
I normally store these mini cherry blueberry pies in an airtight container at room temperature for around 24 hours.
If there are any leftovers after 24 hours then store them in an airtight container and refrigerate. You can reheat when serving from the fridge.
Recipes You May Like!
- Blueberry Crumble Oat Bars
- The Most Delicious Tartlets with Strawberries and Cream
- Blueberry Lemon and Yoghurt Muffins
- Blueberry Compote

Mini Cherry Blueberry Pies (Small Batch)
Ingredients
For the pie crust
- 250g plain flour
- 35g caster sugar
- ½ teaspoon salt
- 70g unsalted butter (cubed)
- 60g shortening (chopped)
- 30ml - 45ml water (very cold - add ice cubes)
- 1 tablespoon lemon juice
For the filling
- 165g fresh black cherries (weight with pits)
- 120g fresh blueberries
- 3 tablespoon lemon juice
- 50g granulated sugar
- 1 teaspoon vanilla extract
- 1 teaspoon cornflour
Egg wash
- 1 medium egg
- 1 tablespoon milk
Instructions
- Make the Dough: Add the flour, sugar and salt to a mixing bowl then combine them together. Add the cold cubed butter and chopped shortening. Using your fingers, coat the butter and shortening in the flour then press the pieces of fat into flat disc shapes. Once the pieces of fat are flat, slightly break them up further until you have small peas size pieces of fat throughout the mixture. It is ok to have some larger pieces.
- To a jug, add the cold water, ice cubes and lemon juice. Make a well in the centre of the mixture then pour around half of the water into the centre. Using both hands, begin to toss the flour and water to help the pastry come together. Continue to add more water in teaspoon increments while still bringing the dough together to form a ball. If bits of dough are falling off. Dip your fingers into the water and slightly wet the area you want to attach it to rather than pouring more water in. At this point the dough should not be sticky but not dry either.
- Once you form a dough, flour a clean surface and tip the dough onto the surface. Gently knead the dough but don’t overdo the kneading and just knead enough to keep the dough together. Flatten the dough and form into a disk shape then wrap in cling film and refrigerate for 1 hour.
- Make the Pie Filling: While the dough is in the fridge, you can make the pie filling. Wash the cherries and blueberries then remove the pits from the cherries. You can do this by hand but its quicker to use a cherry pitter. Add the fruit to a small saucepan then add the lemon juice, sugar, vanilla extract and cornflour. Mix all the ingredients together until the cornflour dissolves.
- Place the saucepan on a low heat to cook the fruit. As the blueberries and cherry’s start to release their juices, begin to stir the fruit occasionally to prevent it from burning. Once the fruit is soft and the juice has thickened, remove from the heat and allow to completely cool. This process should take around 12 minutes.
- Assemble the Pies: Preheat the oven to gas mark 4/350oF/180oC/160oC fan and grease a 6-count muffin tin. Lightly flour a surface and begin to roll out the dough. When it reaches around ½ cm thick, cut 6 circles using a cookie cutter. Carefully place each circle into the cups of the muffin tin. Now re-roll the dough if necessary and cut strips to make the lattice pie tops.
- Make a egg wash by whisking together the egg and milk. Add the pie filling to the cupped pastry. Brush the rim of each pie with the egg wash then arrange the pastry strips to form lattice shapes on top of the pies. Trim of any overhang then brush the top of the pies with the egg wash, sprinkle on some granulated sugar and then bake the pies for 30 minutes. Allow the pies to cool in the tins for 10 - 15 minutes then carefully remove from the tins and allow to completely cool on a cooling rack.

Annette says
I love the look of these pies, am gonna make them on the weekend.